








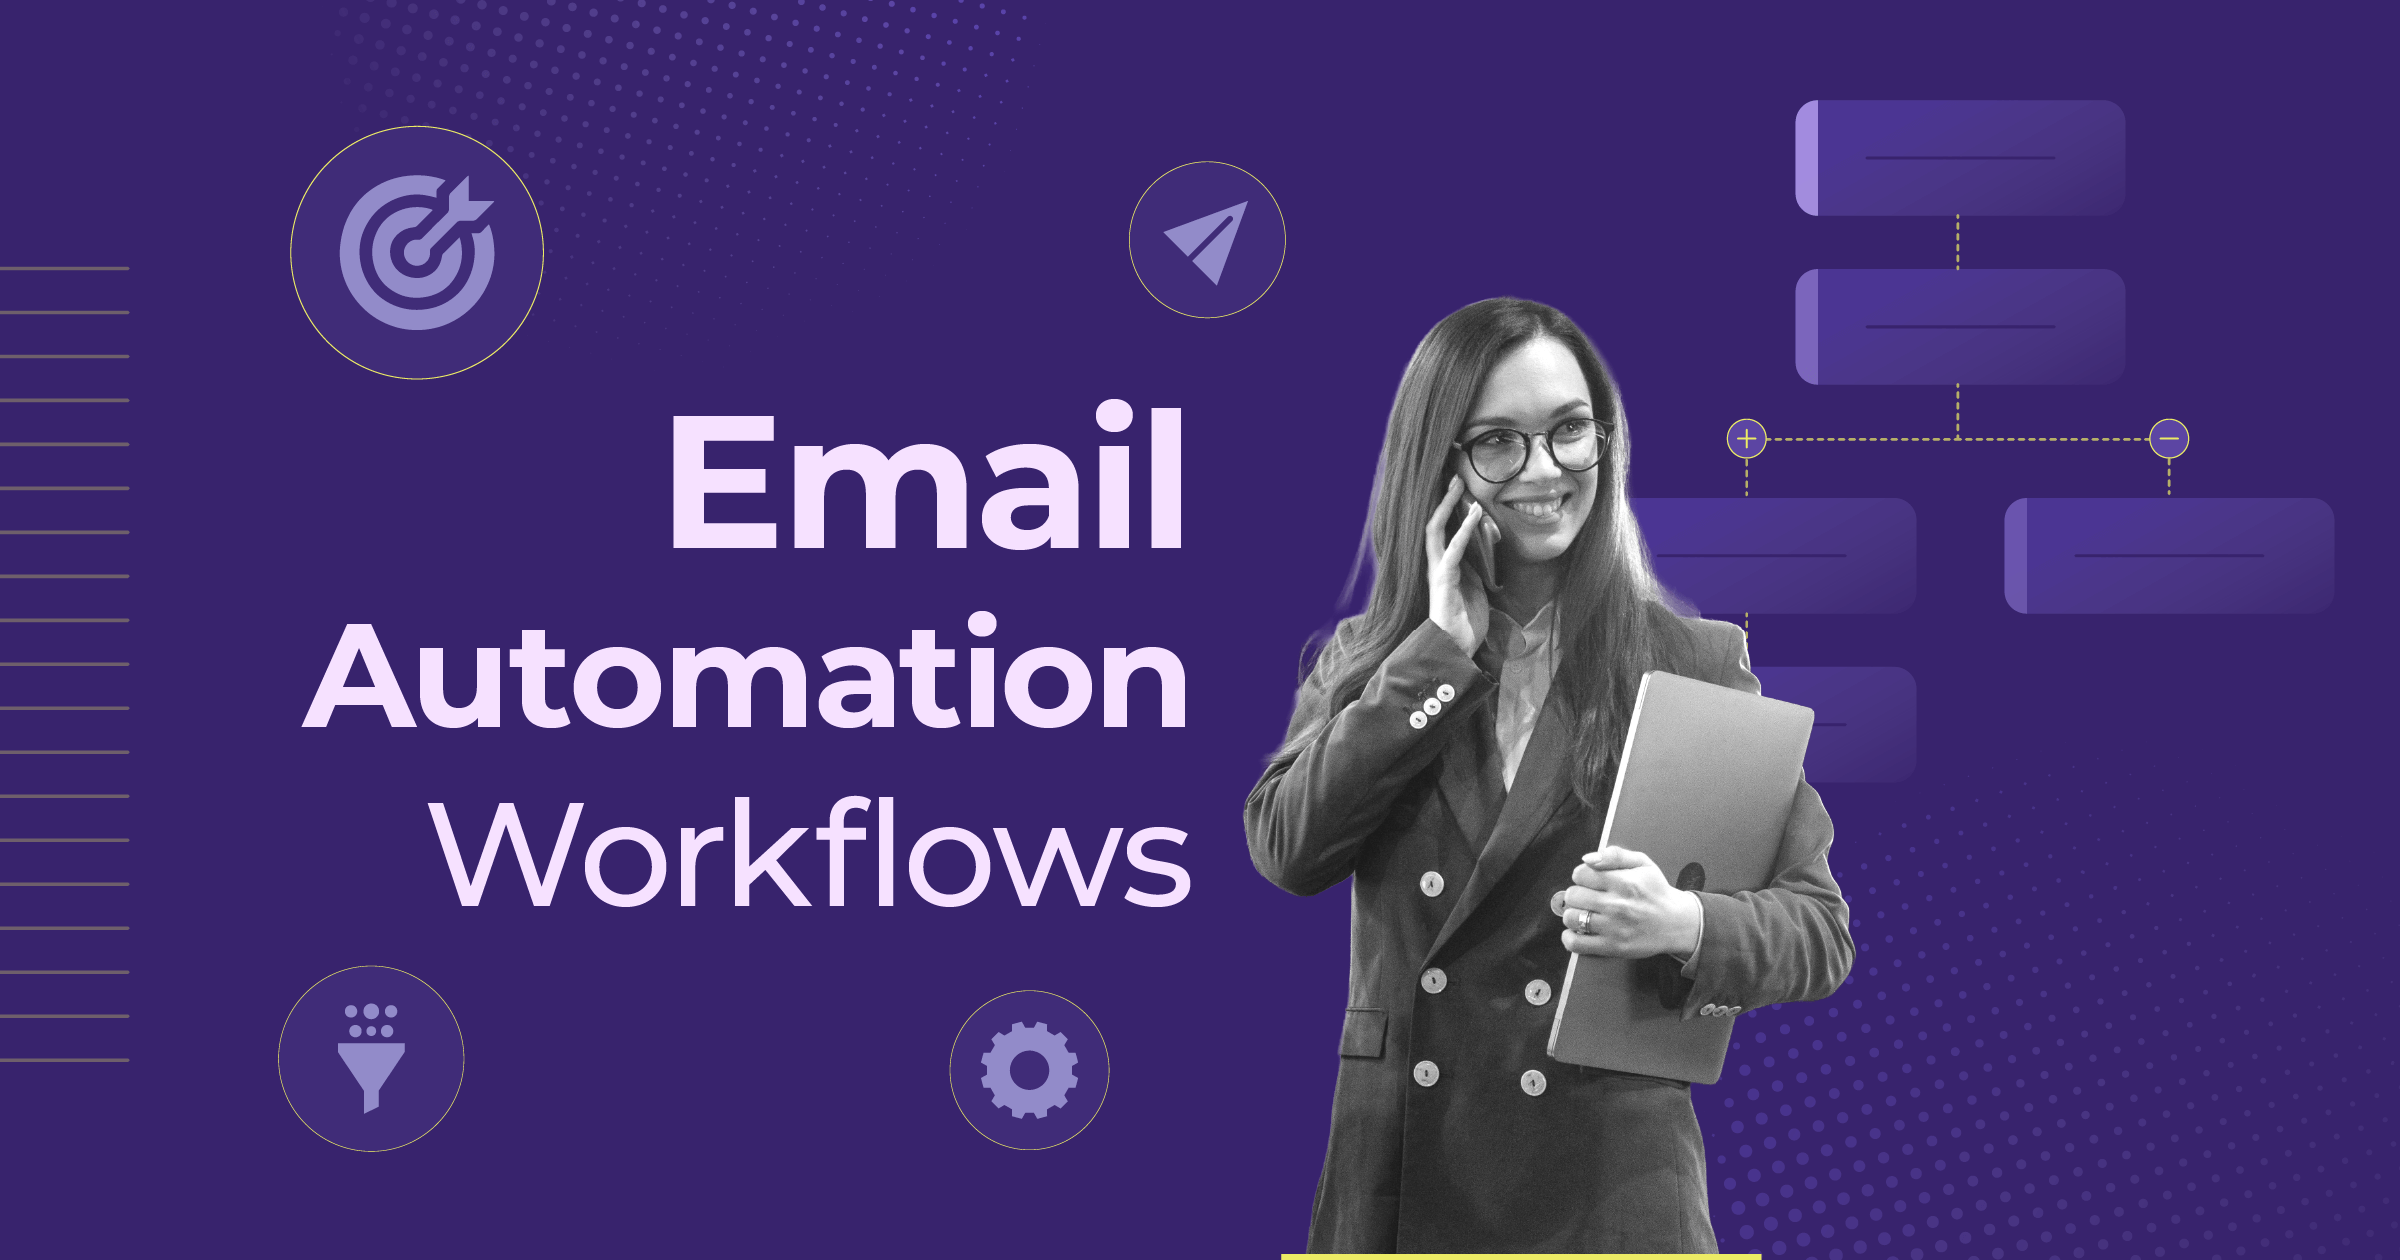
Email Marketing Automation: How-To Guide for 2026
Published By Marilia Dimitriou
August 5, 2026

05/08/26
Email marketing automation often feels stuck between two extremes. You’re either sending everything manually and trying to keep up, or you open an automation builder and face dozens of triggers, branches, and flows with no clear starting point.
For many teams, this is where things slow down. Manual work doesn’t scale, but trying to build everything at once quickly, especially when there’s no previous experience, becomes overwhelming.
A better approach is to start with what you already have. Turn your welcome emails into a simple onboarding flow, connect your customer data, and let that first automation run in the background. From there, you can build step by step, adding new touchpoints as your strategy grows.
This beginner-friendly email marketing automation how-to guide will walk you through getting started. It’ll also help you choose the right automations and set them up step by step.
Your next automation starts here
Turn your ideas into automated customer journeys with a user-friendly flow builder.
Try MoosendEmail Marketing Automation Basics
Email automation lets you send emails based on what people do. So, instead of one-off campaigns, you set up flows that start automatically when someone signs up, makes a purchase, becomes inactive, or reaches a specific date, such as a birthday or anniversary.
This is the main difference from email marketing, which involves scheduling and manually sending campaigns.
For example, a new subscriber can receive a welcome email right away, followed by a short onboarding series over the next few days. This way, your communication stays consistent without having to manage each send, and messages reach people at the right moment.
Now, behind the scenes, every automation follows a simple structure:
- A trigger starts the flow, such as when someone signs up for your newsletter.
- Conditions filter who continues, so you can treat different groups differently (e.g., buyers vs. non-buyers).
- Timing (delays) controls when each step happens, whether that’s instantly, after a few hours, or days later.
- Actions are what happens next, like sending a campaign, updating a field, or moving someone to another segment, such as adding recent purchasers to a post-purchase follow-up sequence.
To build these workflows, you’ll need a marketing automation tool. Many email marketing platforms include a workflow builder, but access often depends on your plan. If your current plan doesn’t include automation, you may need to upgrade or switch to a platform that better fits your needs.
Starting Automations: Welcome & Onboarding
One of the biggest mistakes marketers make is trying to automate everything at once.
While it sounds efficient, this often leads to confusion, half-built flows, and setups that are hard to manage.
Instead, it’s much easier to start with a few essential email flows, get them running, and improve them over time. This way, setup stays simple, and you build a strong base before adding more.
Welcome sequence
The best place to begin is with a welcome series that greets new subscribers and showcases your brand’s value.
These are the messages you’re likely already sending manually, so automating them is a natural first step to kick off your journey.
You can see how a simple welcome flow looks below:

To break it down, every welcome flow follows the same structure:
- Trigger: The flow starts when someone signs up for your list through website pop-ups, ads, or landing pages.
- Timing: Send the first email a few minutes after signup, while your brand is still top of mind for new subscribers.
- Action: Introduce your brand, set expectations, highlight your main value (products, content, or services), and guide users toward a first action, such as using a welcome offer.
Here’s a great example from Sun of a Beach, sent right after signing up for the brand’s newsletter.
Subject line: Welcome, Summer Friend ☀️

Onboarding series
While the welcome sequence introduces your brand, onboarding helps you guide them through the next steps and ensure they get the full value from your offering.
Onboarding is most commonly used for SaaS, course, and service-based businesses, but it can also apply to eCommerce, helping customers discover categories, collections, or product benefits.
A simple sequence usually looks like this:

Unlike a welcome flow, which is usually linear, onboarding introduces branching logic. This means subscribers can follow different paths based on what they do, making the experience more relevant.
Beyond the structure, good onboarding emails should:
- Show users how to get started
- Highlight the most relevant features or products based on their behavior
- Remove friction by answering common questions early
- Encourage the next step, whether that’s exploring, using a feature, or making a purchase
Below is an example from Todoist’s onboarding sequence, offering additional tips for new users who have started using the software.
Subject line: ⚡️ Add tasks as fast as you can think them

What about transactional emails?
Alongside your welcome and onboarding series, don’t overlook your core transactional emails, such as order confirmations and receipts. Most businesses already have these in place, but if you’re just getting started, they should be a top priority.
These are the emails people expect right after taking action, so they shape that initial impression. You might think the welcome flow should come first. In reality, both are equally important, as one builds trust by confirming the action, while the other starts building the relationship.
Think about it this way. Someone signs up or places an order and gets nothing back. That’s enough to make them question whether everything worked or if your business is even legit. At that point, a welcome email won’t fix the experience.
So, if you want to get those early (unexpected) wins right, make sure your core transactional automations are in place to handle those first interactions.
Email Marketing Automations to Add Next
Once your welcome and onboarding flows are running, the next step is to gradually automate multiple aspects of the customer journey.
Each new automation should support a different stage, so let’s see what flows you can add based on real needs and behavior. You can find the following workflow templates in Moosend’s library.
Also, if you’re curious to explore them, you can sign up for a free account and take a look inside the automation builder as you read or at your own pace.
1. Cart abandonment flows
Cart abandonment is one of the most common sources of lost revenue, but it’s also one of the easiest to recover with automation.

When a shopper adds products to their cart but doesn’t complete checkout, you can trigger a cart recovery flow automatically after a short delay. Instead of manually tracking abandonment, the automation monitors this behavior and follows up at the right moment.
Because cart recovery automation targets users with high purchase intent, this is one of the most important flows for eCommerce businesses.
Here’s a great example from Uniqlo.
Subject line: Your cart is waiting…

Tip: To make your cart abandonment email more effective, address common pain points. If users hesitate due to price, shipping costs, or return policies, your follow-up emails can include incentives like a limited-time discount, free shipping, or clear reassurance.
2. Special offer reminders
Limited-time promotions often need more than one touchpoint to convert.

With automation, you can trigger a reminder flow when someone opens a promotional email but doesn’t click. Instead of letting that interest fade, the system follows up shortly afterward to bring them back before the offer expires.
This workflow targets users who are already engaged but haven’t yet taken action, making it a simple way to capture additional conversions.
As you can see below, Pixie Wing’s discount reminder hits all the right notes.
Subject line: Your discount – it expires soon.

Tip: Avoid adding artificial urgency as it can frustrate recipients. Instead, highlight the real deadline and the offer’s value. A short, well-timed reminder with a clear CTA can help convert users who were still deciding.
3. Website re-engagement
Some visitors browse your store and then leave without coming back.

A re-engagement automation picks up that inactivity signal and schedules a follow-up after a defined time. This way, you don’t have to rely on memory or manual sends. The system reintroduces your brand when the interaction is still somewhat recent.
To make this automation work, you’ll first need website tracking to capture user behavior (e.g., pages viewed or categories browsed). Without that piece of data, the automation won’t know who to target or when to trigger.
Most email service providers (ESPs) require you to add your website to your account. So, take a few minutes to set everything up before installing website tracking and building your flows.
Here’s a simple example from bareMinerals, triggered after taking a look around their website but leaving without taking an action.
Subject line: We saw you looking…

4. Thank-you emails
A thank-you email is the first step in your post-purchase automation. It’s triggered right after a purchase or completed action, and its main job is to confirm the order and reassure the customer that everything went through.

Once that’s clear, it can go a bit further. This email can also set expectations and guide what comes next, whether that’s delivery details, how to use the product, or where to go if a customer needs help.
From there, you can build on it with follow-ups, but the thank-you email itself lays the groundwork for a smooth post-purchase experience.
Thank-you emails don’t need to be complicated. Here’s how Nolae did it.
Subject line: Order #xxxxx confirmed

5. Customer surveys
Customer survey sequences can help you collect feedback without having to reach out to every single customer. This gives you valuable insights into what worked, what didn’t, and where you can improve your products, service, or overall experience.

Timing is key here. Sending the survey too late reduces the chances of a response, while a well-timed message increases engagement and accuracy.
Freenow aced their timing, sending this survey email an hour after the customer’s trip.
Subject line: Marilia, how did your trip go? 📝

Tip: A quick rating or a simple feedback question will usually perform better than long forms, making it easier for customers to respond.
6. Upsell and cross-sell emails
Upsell and cross-sell automations build on the purchase that just happened.

An upsell introduces a higher-value version or upgrade of the product the customer already chose, while a cross-sell suggests complementary items that complete or enhance it.
Because this runs automatically right after the purchase, the timing stays relevant. Customers are already familiar with your product, so these recommendations feel like a natural next step rather than a separate promotion.
MacPaw effortlessly promotes additional products at a discounted price with this clever cross-sell email:

7. Loyalty sequences
Loyalty emails reward customers when they reach order-related milestones, such as a certain number of purchases or a spending threshold.

Once that milestone is met, the workflow can automatically deliver a reward, like an exclusive offer, a loyalty discount, or early access to new products.
For example, fintech brands like Revolut often celebrate customer loyalty with a free trial of their premium service.
Subject line: Your loyalty pays off — enjoy a 2-month trial

Tip: Set clear milestones within your loyalty program and communicate them to your customers. When people know rewards unlock after specific actions or spending levels, they’re more likely to return and buy again.
8. Repeat purchase reminders
Some products need to be replenished over time. Repeat purchase reminders use automation to reach out when it’s likely that a customer is running low, prompting them to reorder at the right moment.

Because these emails are timed around typical usage, they feel helpful rather than promotional. A thoughtful, supportive tone works better here than an overly sales-driven message.
This type of workflow works especially well for businesses selling consumables like pet supplies, haircare, skincare, supplements, or household essentials.
Chewy’s example perfectly shows how pet care brands can use this specific automation to boost sales and keep customers well-supplied.
Subject line: Running low?

9. Anniversary emails
An anniversary automation reaches customers at a meaningful moment in their relationship with your brand, whether it’s their first purchase, signup date, or another milestone.

By triggering an email around a specific event, you bring the relationship back into focus and give them a timely reason to return.
Here’s how Grammarly celebrates a big milestone by staying on-brand.
Subject line: Cheers to 5 Years with Grammarly

Tip: Use milestone emails to recommend products based on past purchases or preferences. Suggesting items that complement or upgrade what they’ve shown interest in creates a natural path back to your store.
10. Birthday campaigns
Birthday email automations give you a chance to connect with customers on a more personal level.

Unlike other lifecycle triggers, this one is centered around the customer, not their activity. The automation simply uses the stored data to send a message at the right time.
A short birthday email, paired with a small reward or personalized recommendation, can make the interaction feel thoughtful while encouraging a return visit.
Harry Potter definitely knows how to give people a magical birthday.
Subject line: 🎂 HAPPEE BIRTHDAE, Marilia

Further reading: For more, check out our dedicated email automation examples to get inspired.
How to Set Up Your Email Marketing Automation Flow
Once you know which automations to build, the next step is setting them up. This is where things can get a little complicated because the tools and options can feel overwhelming at first.
The good news is that most email automation platforms are built to simplify this process. Instead of coding workflows from scratch, you can use a visual builder to create automations by connecting triggers, conditions, delays, and actions into a complete workflow.
The key is to focus on the logic first and then use the software to bring it to life.
Step 1: Start with one goal
First, decide what you want to achieve with each automation. Before opening the builder, write down the exact outcome you want to influence.
For example, instead of saying “improve performance,” get specific. You might want new subscribers to make their first purchase, or inactive users to come back and engage again. That shapes everything that follows, from the emails you send to the timing you choose.
It’s also important to keep each automation focused on a single goal. Trying to cover multiple outcomes in a single flow can quickly make things messy and hard to manage. When each automation has a clear purpose, it’s easier to build, track, and improve over time.
Step 2: Choose your trigger
Once you have set your goal, the next step is to define what starts the automation. This is your trigger. It tells the system when to begin the flow.
This should match the behavior you want to act on. For example, if your goal is to welcome new subscribers, the trigger would be when someone subscribes to your list. If you want to recover inactive users, the trigger might be when someone doesn’t open your campaigns for a certain period.
Most platforms, like Moosend, offer a range of trigger options in their automation builder. So, you can start flows based on email activity, list changes, or website behavior.

Some common triggers include:
- When someone subscribes to a list
- When someone opens or clicks a campaign
- When someone doesn’t engage with your emails
- When someone visits a page or takes an action
The key is to choose a trigger that directly connects to your goal. This keeps your automation relevant and timely.
Step 3: Build a simple flow
Now it’s time to put everything together. Start with a basic structure and focus on getting your first automation live.
If you’re starting from scratch, use your automation builder and add one step at a time. Your visual workflow builder will guide you through triggers, delays, and actions, so you can map out the flow as you go.

If you want to move faster, start with a prebuilt recipe like the ones we saw above. These give you a ready-made structure for common automations, such as a welcome series or cart abandonment. You can then adjust the timing, messaging, and triggers to fit your needs.
Let’s use this welcome recipe from Moosend’s library:

Don’t be alarmed by the red indicators. They simply mean the steps haven’t been configured yet. You can add as many steps as you like, but keeping things simple will make it much easier to manage and visualize your flow.
Here’s how our automation looks after customizing it:

In the above example, we kept only the main steps:
- Selected the trigger “when someone subscribes to any list”
- Added a short delay of 2 minutes
- Set the action to “send email with subject ‘Welcome to the family!’
When you learn the ropes, you can extend it by adding another delay and a follow-up message to get new subscribers to check out your products.

At this stage, keep everything linear. Don’t worry about conditions, branches, or advanced logic yet. As mentioned earlier, the goal is to create a workflow you can build on.
Tip: To save time going back and forth between email creation and automation, set up your campaign in your editor first. This way, you can link it to your automated workflow and have a better view of what you’ll send.
Step 4: Connect your data
Before you build more advanced flows, make sure your data is connected. This is what allows your automation to respond to real user behavior.
If you’re just getting started, you might not have much data yet, and that’s fine. You can still build simple automations based on basic triggers, such as signups or email engagement. But once you’re ready to move beyond the basics, data becomes essential.
For example, without eCommerce data, you can’t trigger cart abandonment emails. Similarly, without website tracking, you can’t react to page visits, and without CRM data, you can’t personalize based on user attributes.
The easiest way to approach it is to start with what you have, such as email list data (names, locations, etc.) and basic engagement metrics (opens, clicks).
Then, you can expand as your business grows and more data comes in.
Step 5: Expand your existing flows
Once your basic flow is live, you can start making it more dynamic. This is where automation goes beyond a simple sequence and starts adapting to user behavior.

Above, you can see how you can take our previous welcome automation sequence a step further. Instead of sending the same next email to everyone, a condition checks whether the user made a purchase.
Based on that action:
- Customers who purchased receive a thank-you email
- Those who didn’t receive a follow-up promotion with an incentive
Here, you can start expanding your sequences by adding:
- Branching logic: to create different paths (e.g., purchased vs. not purchased)
- Segmentation: to target specific groups with tailored messages
- Lifecycle flows: to move users from onboarding to post-purchase or re-engagement
- Personalization: using data like products viewed, past purchases, or engagement
Remember, you don’t need to add everything at once. Start by introducing one condition into your existing flow, then build from there. Over time, your automation will shift from a simple sequence to a system that responds differently to each user.
Email Marketing Automation Best Practices
Now that you know how to set up your flows, let’s look at a few email automation best practices to help you keep them effective over time.
Update your flows regularly
Automation isn’t static, meaning that what worked when you first set up a flow won’t necessarily perform the same months later.
Instead of occasional check-ins, treat your automations like active campaigns and review them on a set schedule.
When evaluating a flow:
- Look at certain points inside the sequence instead of the overall metrics
- Check which emails drive clicks or conversions and which get ignored
- Update links, offers, or product references that may no longer be relevant
- Adjust delays if emails feel too close together or too far apart
For example, in a cart abandonment flow, if the second reminder email consistently underperforms, test sending it sooner or adjust the message to focus on a specific friction point, such as shipping costs or returns.
If the first email gets opens but no clicks, consider adding product details or a clearer CTA to help users pick up where they left off.
Small, targeted adjustments at specific steps like these keep your automation effective without needing to rebuild the entire flow.
Test before you activate a sequence
Before turning any automation live, run through it as a user. Don’t assume the flow works just because it looks correct in the builder.
Instead, create a test contact and trigger the automation yourself. Go through each step and check that:
- The trigger fires at the right moment
- Delays are realistic, and emails don’t arrive too fast or too late
- Links, personalization fields, and content display correctly
- The flow follows the expected path
If you skip this step, issues usually show up in production. Emails might not be sent, links can break, or users may receive the wrong message at the wrong time. These small errors add up quickly and affect trust and performance.
Let subscribers update their preferences
Not everyone wants the same content, and that’s where a preference center becomes important.
Instead of forcing users into a single list or sending frequency, give them control over what they receive. This helps you keep them engaged without overwhelming them.
A simple preference center, like Patagonia’s below, should allow subscribers to choose the type of content they want to receive, adjust how often they hear from you, and update their interests or product preferences:

This is especially useful when engagement starts to drop. Instead of losing subscribers, you give them a way to stay on their own terms.
From an automation perspective, this data becomes even more valuable. You can use updated preferences to:
- Segment your audience more effectively
- Trigger more relevant automations
- Personalize content based on interests
When subscribers can shape their experience, your emails stay relevant, engagement improves, and unsubscribes decrease.
Align automations with the customer journey
Each automation should support a specific stage in the customer journey. When flows are built without that structure, users may receive messages that feel out of place or repetitive.
Think of your automations as a sequence of steps:
- Onboarding introduces your brand and sets expectations
- Conversion flows capture intent and drive action
- Post-purchase supports the experience and builds value
- Re-engagement brings users back when activity drops
When these flows are aligned, each one picks up where the previous left off. For example, a user shouldn’t keep receiving onboarding emails after they’ve already purchased. Instead, they should move into a post-purchase or upsell sequence.
This structure helps you avoid overlap and create a smoother experience across your entire automation setup.
Find the right timing
Just like there’s a best time to send emails, there’s also a right time to trigger your automations.
Delays shouldn’t be random, as they shape how a recipient experiences the sequence. For instance, if emails come too quickly, they can feel overwhelming. If they come too late, the moment has already passed.
The key is to match timing with intent:
- For high-intent actions, keep delays short. In a cart abandonment flow, for example, the first email should go out within minutes or a few hours, while the interest is still there.
- For lower-intent stages, give users more space. In a nurturing sequence, spreading emails over a few days helps users absorb the content without feeling rushed.
It also helps to think in terms of flow rather than individual emails. A simple schedule, like sending the first email soon after the trigger and following up a day or two later, keeps things consistent without overdoing it.
If you notice people dropping off at a certain step, adjust the delay. Timing is one of the easiest things to tweak, and small changes can make a big difference.
Clean your data and inactive users
Automation is only as good as the data behind it. If your database is outdated, incomplete, or contains inactive users, your flows will be negatively affected.
Over time, people stop engaging, change their email addresses, or lose interest. If you keep sending to these contacts, it affects your email deliverability and makes your metrics harder to trust.
To prevent that, you need to:
- Remove or suppress inactive subscribers
- Merge or clean duplicate records
- Update outdated fields and preferences
- Monitor engagement trends across segments
It’s also important to keep your data in sync. If your eCommerce, CRM, or website data isn’t updating properly, your automations won’t trigger at the right time or will send the wrong message.
The Risks of Over-Automating Your Email Marketing
Automation can scale your strategy, but adding too many flows too quickly can create friction rather than results. Here’s why:
- Overlap: Multiple automations run at the same time without coordination. A new subscriber might still be in a welcome flow while also receiving promos or re-engagement emails, which feels disconnected.
- Overcommunication: Every action triggers an email. Volume builds up fast, emails feel intrusive, and engagement starts to drop.
- Complexity: More conditions and branches make flows harder to understand. It becomes difficult to track what’s working or fix issues when something breaks.
- False sense of control: Just because a flow is running doesn’t mean it’s effective. Without regular checks, automations can underperform or send the wrong message at the wrong time.
To avoid these risks, you shouldn’t hurry to automate everything all at once. Instead, build a system that stays clear, connected, and aligned with how your customers actually move through their journey.
That’s how you’ll truly put your marketing on autopilot.
From a Single Automation to a Full Journey
Automation can take your email strategy far beyond manual campaigns. It brings consistency, better timing, and scale, and helps you stay in touch with subscribers without the extra manual work.
But automation isn’t something you set once and forget. Without a clear structure, it can quickly become hard to manage and even overwhelming.
The difference is how you approach it. Start small, build around real customer behavior, and expand only when there’s a clear need.
When your automations stay simple and connected, they stop being just workflows and become a system that supports your entire customer journey.
FAQs
Here are some common questions regarding email marketing automation.
1. What is email marketing automation?
Email marketing automation is the process of sending emails automatically when a user takes a specific action. For example, when someone signs up, abandons a cart, or becomes inactive, the system automatically triggers a relevant email.
2. Are email marketing and marketing automation the same thing?
Email marketing is the practice of sending campaigns to your audience, while marketing automation is the system that automatically sends emails based on user behavior. In practice, email marketing is the channel, and automation is how you scale and personalize it over time.
3. Do I need software to set up email automation?
You need an email marketing platform with automation features to create and manage workflows. These tools provide visual builders where you define triggers, delays, and actions without coding.
4. What is the best first email automation to set up?
The best place to start is a welcome email sequence. It’s simple to build, aligns with what you’re already doing, and helps convert new subscribers while their interest is still high.
5. How many email automations should I have?
Start with a few core automations and expand gradually. Most businesses begin with onboarding, cart abandonment, and post-purchase flows, then add more as needed.
6. Can email automation work without customer data?
Yes, but only at a basic level. You can trigger automations from simple actions like signups, but to personalize and scale effectively, you’ll need data from your website, CRM, or ecommerce platform.
7. Is email automation only for eCommerce?
Email automation works for eCommerce, SaaS, B2B, agencies, and creators. The flows change, but the logic stays the same: trigger emails based on behavior and guide users through a journey.
8. Can you over-automate your email marketing?
Too many automations can lead to overlapping messages, excessive emails, and a confusing experience. The goal is to build a structured system, not automate every possible interaction.
Similar Posts
 Published by
 Published by
 Published by
Create, send and optimize your email marketing campaigns