How To Create A BIMI Record To Boost Open Rates
BIMI, BIMI, BIMI… I’m sure you’ve heard about it at least once. But what is BIMI exactly?
Time to find out!
Almost 18 months ago, I heard during an M3AAWG event (Kudos to my M3AAWG fellows) about BIMI.
And then I started a little research about it. Before we get there, we’ll need the help of an old friend. Say hi to DMARC and go check it out!
Ready? Now, let’s see what BIMI is and how email marketers can easily create their own BIMI records.
Stay tuned! It’s time for email science!
What is BIMI?
BIMI (Brand Indicators for Message Identification) is a new information verification method for your brand. Its purpose is to collaborate with DMARC, SPF, and DKIM to show email clients that it’s really you.
BIMI is necessary since it’s an open system that works at an internet-scale so that Domain Owners can coordinate with email clients (MUAs) to display appropriate Indicators. And don’t forget, it also has the added benefit of incentivizing Domain Owners to authenticate their email.
What to Know Before Setting up a Record
Now you might ask, is there anything else I need to know/do before creating a BIMI record?
The answer here is straightforward: you need to know more about DMARC. That’s because DMARC is the only method to protect your domain name and let’s be honest here, it’s the only method to show everyone that you care for your domain name.
You can learn more about DMARC in our recent post, but allow me to mention only one thing:
The purpose of DMARC is to protect your brand from malevolent users who wish to use your domain name and send suspicious links to people.
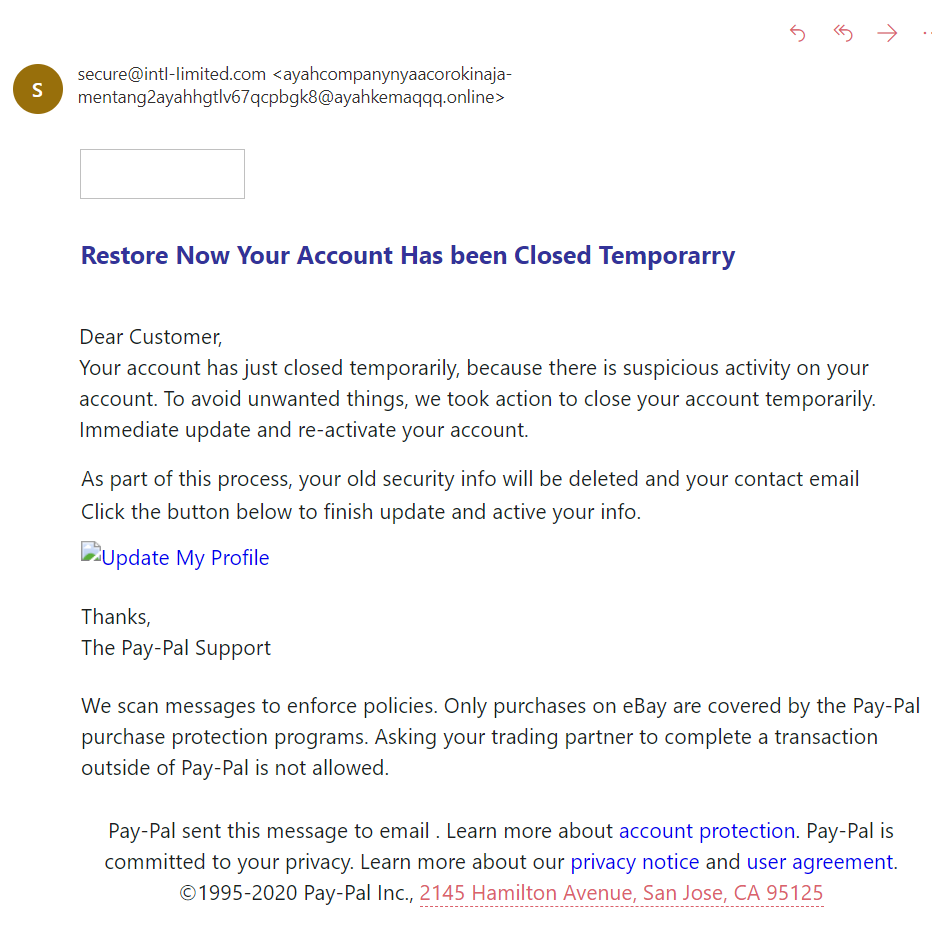
Here’s what an obvious spam email looks like:

And here’s a recent example:
A few weeks ago, I received a message from one of the biggest Bank Organizations in Greece. The message was claiming that I needed to confirm my credit card details.
First of all, who on earth is sending these sorts of messages? Secondly, those grammatical and syntactical errors can hurt my soul!
But in any case, not all people out there are familiar with spammers/scammers and phishing links, so we need to protect them.
The problem for the person who did that action was that I:
- was familiar with how to check phishing links and the headers of the message.
- found the rat, and I’ve informed the IP owner, which, funny thing, was another ESP.
- informed the Bank that someone used their domain name because they didn’t protect it effectively.
So, having a DMARC value is the new hit for you! Also, that’s good news for your email deliverability and your sender score!
The BIMI Approach
The approach taken by BIMI is heavily influenced by the approach taken by DKIM, in that BIMI:
- has no dependency on the deployment of any new Internet protocols or services for indicator registration or revocation;
- does not attempt to include encryption as part of the mechanism;
- is compatible with the existing email infrastructure and transparent to the fullest extent possible;
- requires minimal new infrastructure;
- can be implemented independently of clients to reduce deployment time;
- can be deployed incrementally; and
- allows delegation of indicator hosting to third parties.
Now that you are familiar with BIMI and its approach, let’s look at the basic structure.
The Basic Structure of BIMI
The purpose of structuring BIMI is to reduce operational complexity at each step and consolidate validation and indicator selection into the MTA. Consequently, Domain Owners will only need to publish simple rules, whereas MUAs only need simple display logic.
Here’s the structure:
- Domain Owners publish brand indicator assertions for domains via the [DNS].
- Then, for any message received by a Mail Receiver:
- Receivers authenticate the messages using [DMARC] and whatever other authentication mechanisms they wish to apply.
- The receiver queries the DNS for a corresponding BIMI record and proof of indicator validation.
- If both the email and the logo authenticate, then the receiver adds a header to the message, which can be used by the MUA to determine the Domain Owner’s preferred brand indicator.
- The MUA retrieves and displays the brand indicator as appropriate based on its policy and user interface.
Here comes the 1M question. So, what is it exactly?
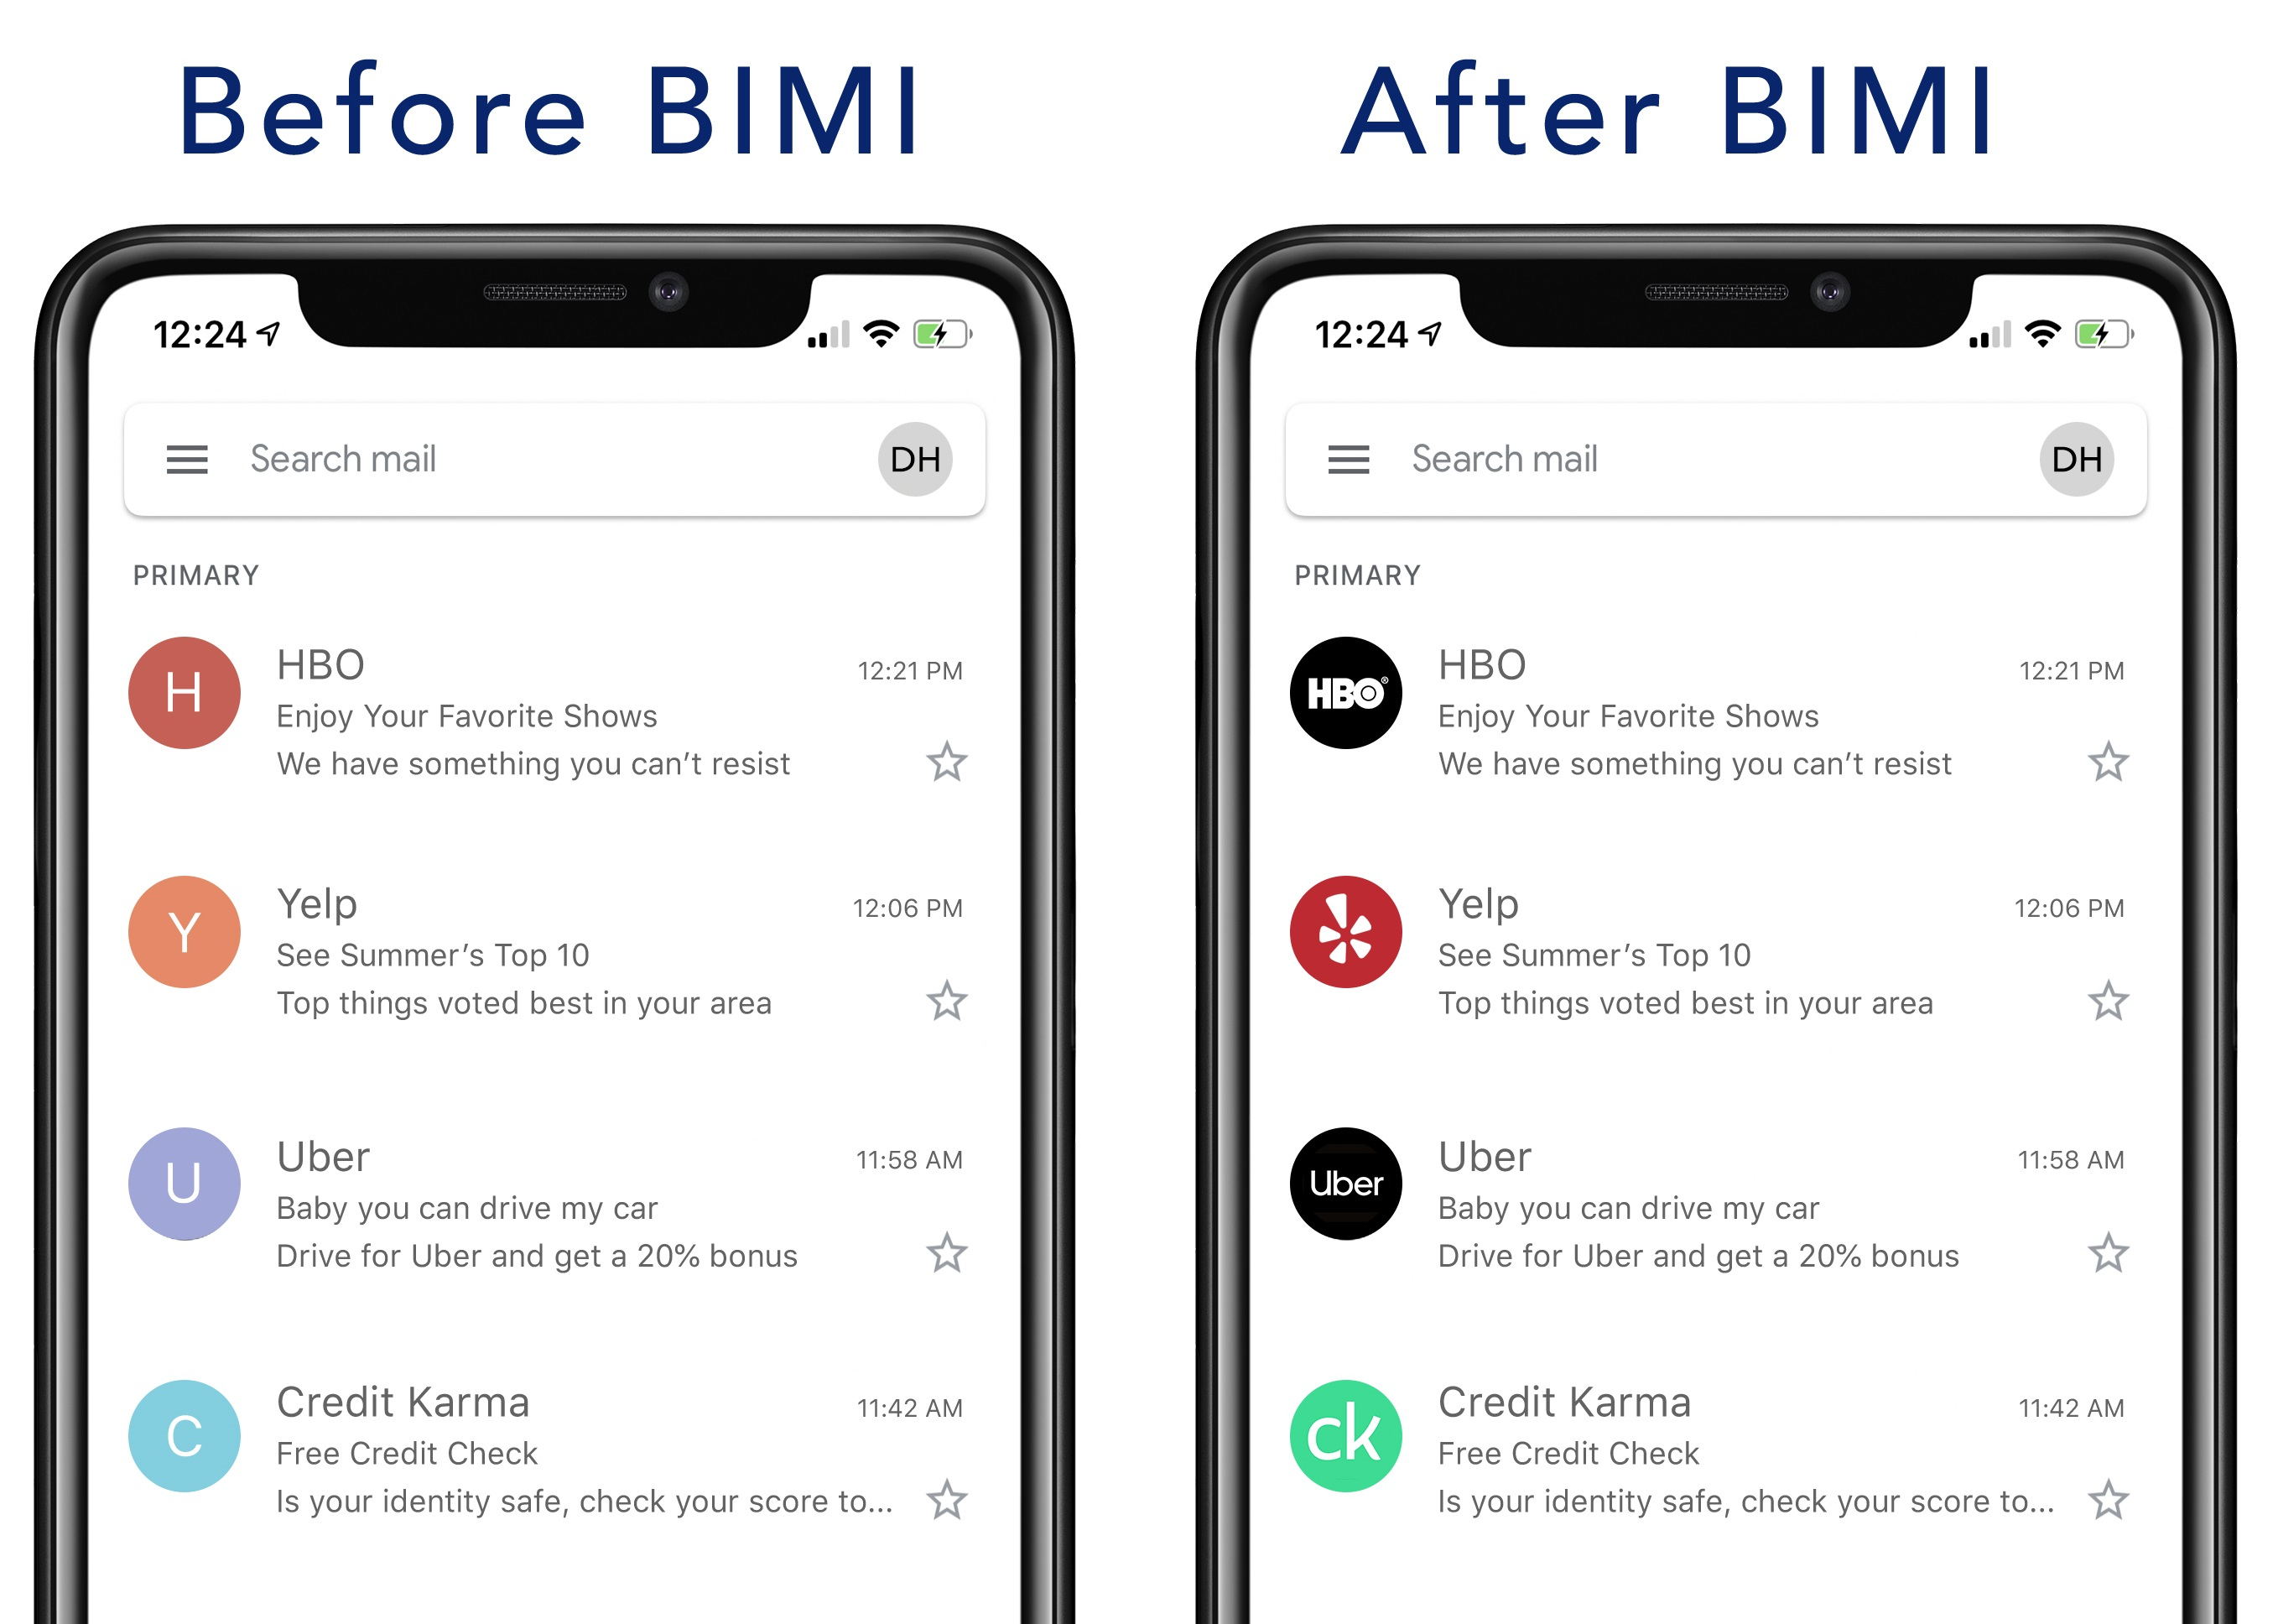
With one phrase, BIMI is your logo.
You can simply assume that anyone can use your logo, right?
This might be the case; however, NOONE except you has access to the DNS records of your domain name. And BIMI is a part of your DNS zone, and email providers know that as well.
Now, is it easy to create your own record?
How to Create a BIMI Record
It is! It took me 15 minutes to create one for my best friend. (Not that I use them as lab rats for my devious experiments examples, but I do…)
So, bear with me as we create your first BIMI record:
1. Create Image in SVG Format
First, you’ll need to obtain a copy of your logo and convert it to SVG format.
To do it, simply uploaded your .png logo file and convert it to an SVG format. For this little experiment example, I used the ACONVERT, an online image converter.
2. Access the DNS Zone of Your Domain Name
Now that you’re ready to create a BIMI record for your domain visit your DNS hosting provider.
After logging in, click to create a new TXT record under the DNS zone of your domain name.
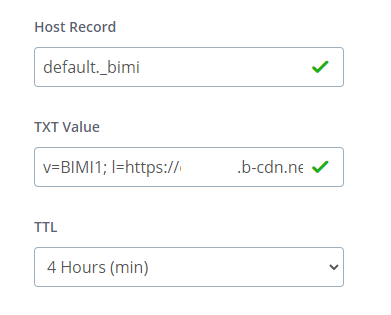
3. Add your BIMI Value
In this field, you’ll likely add the value _bimi.
The only tag-value pair for “v” (version) is v=BIMI1 and “l=” which is the location of your SVG file.

Keep in mind that it is better to upload the SVG file in a CDN service since it will get many hits.
4. Publish BIMI Record
Click the “Save” button to publish your new record.
5. Test BIMI Record for Errors
The last step you want to perform is to Run a BIMI Record Check, something you can easily do with MXtoolbox, to verify whether the record you just created has the correct values and syntax.

This tool will also render how your logo will appear in email clients. So, make sure to bookmark it for future uses.
BIMI Me Up, Scotty!
Now that you have BIMI, you can simply send your next campaign!
There is nothing else to do from your end, but by having the BIMI record, you just informed all the email providers who support it that you are a trusted sender. As a result, your brand will be easily recognized and trusted by current and future clients.
At the same time, email providers who will support BIMI in the future will easily recognize your record as well. Which means that your open rate will be increased since your recipients will recognize you the moment they see your logo.
Keep in mind that your logo doesn’t automatically display in all customer inboxes on day one. Right now, Verizon (Yahoo!/Aol) supports it, while Gmail has started their Beta program as well.
So, do you want to improve your open rates? Start with the BIMI!
For more information about BIMI, you can also check the BIMI group and Agari.


 Published by

 Published by
