


Check Out What Your New Moosend Account Can Do! [Spoiler: It’s A LOT]
Published By Yannis Psarras
January 17, 2019

17/01/19
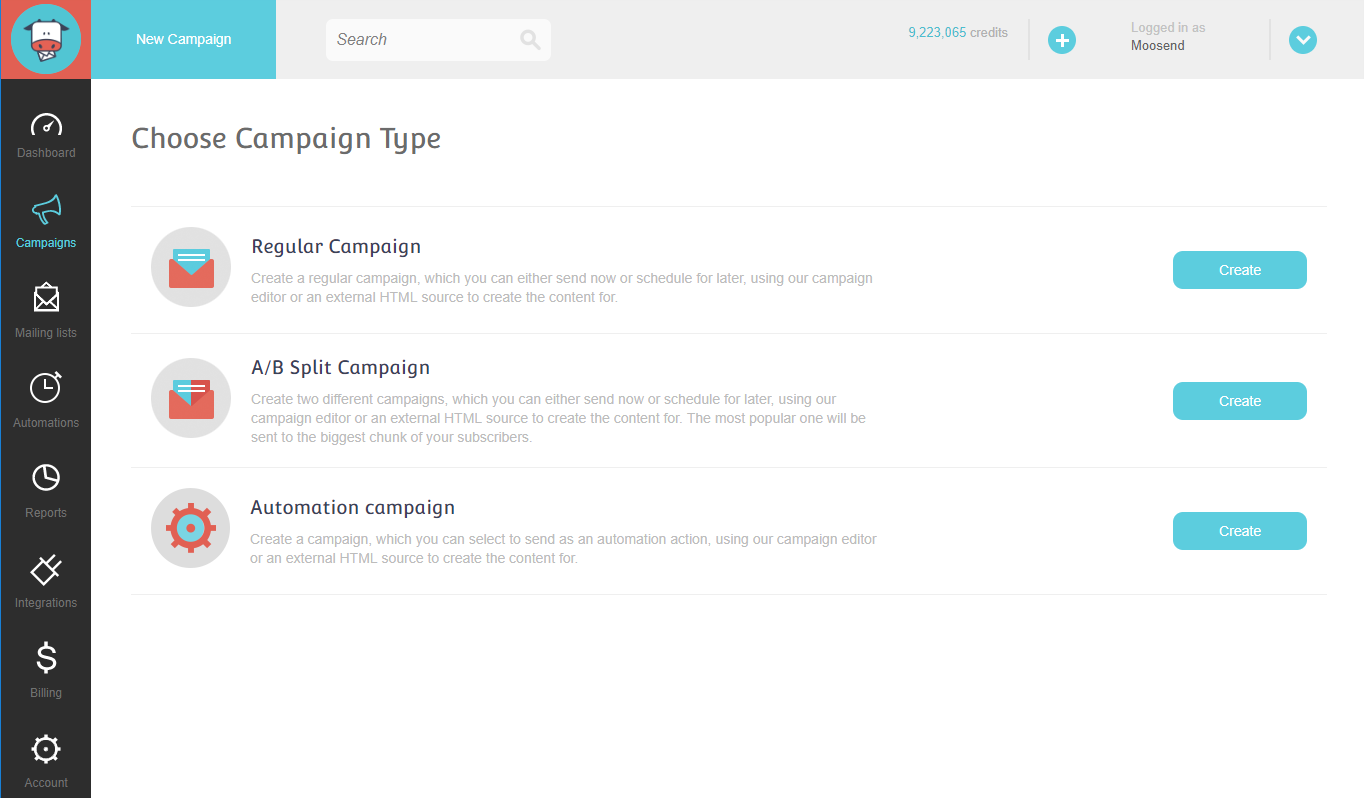
Campaigns are now categorized into 3 main types
Upon selecting to create a new campaign, you can now select the type for your campaign. The first two types, as you are already aware of them, are the Regular Campaigns and the A/B Split Campaigns. A newer addition is the Automation campaigns!
You often want to send an automation campaign but you need to send a proper design and the current simple text method doesn’t cut it. Up until now you had to create a campaign and leave it as draft to then attach it in your automation. We are introducing a new type of campaign called Automation Design that will server that very purpose. Automation design campaigns only have a few basic settings such as name and a design. There are no mailing lists or other fancy stuff as those are not applicable to emails sent through automations, right?
These are then found in 2 different tabs
Once you create any of the following types of campaigns – Regular Campaign, A/B Split Campaign or Automation Campaign – you can then find them in two different tabs of your Campaigns menu. The Regular Campaigns and the A/B Split Campaigns can be found on the first tab “Regular” and the Automation Campaign can be found on the second tab “Automation”

A/B Split campaigns now display their A&B data on the wizard list
You can now see the statistics of your A/B Split campaigns easier than ever! Navigate next to the name of your A/B Split Campaign and there you can see the Opens/Clicks of the two A/B versions. For more details, you can always jump to the relevant report of your campaign – just click on the pie icon on the right side and there you are!

You can now edit a scheduled campaign
Not happy with your draft campaign? No problem! You can now edit and change any detail of your draft campaign by just hitting the little pencil icon – located in the “Actions” column in the right side of each campaign.
You can also unschedule a scheduled campaign
How many times did you wish you could unschedule your campaign with just one click? We know! We’ve all been there! And that’s why we make things simpler than ever! We are introducing the magic “Unschedule” button which can be found in the Snapshot step of your scheduled campaign. As long as your campaign is still scheduled, you can unschedule it, make sure that you are happy with your changes and then go back to the Snapshot step and hit that “Schedule” button again!
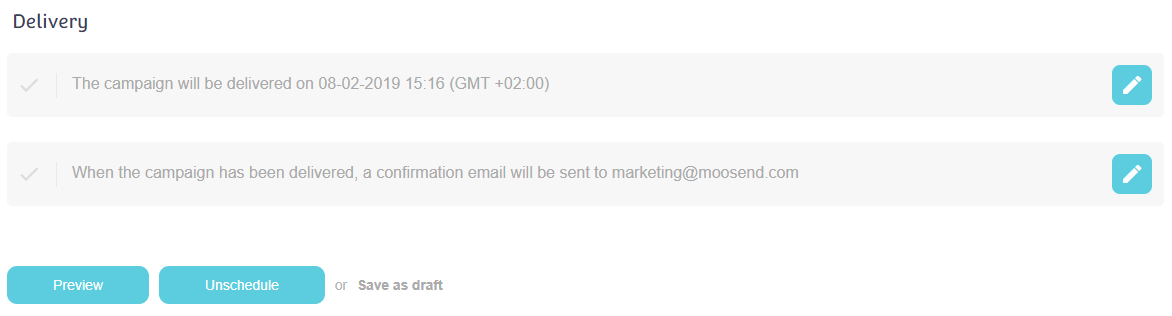
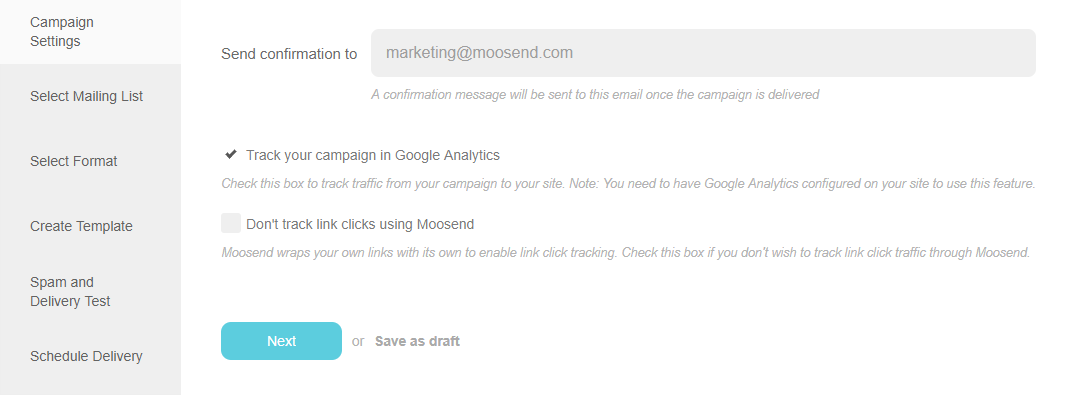
Send confirmation to email is now in settings page
Sometimes you want to set just the “basic” settings of your campaign before sending it out – such as the “send confirmation to” – which is a field where you can set an email that will receive a confirmation message, once the campaign is delivered. You can now find this setting in the Campaign Settings step of you campaign wizard along with other similar settings such as the sender or the reply-to fields.
There is now paging for select list step
Aiming to grow your subscribers list is always one of the most important things. But, another important thing also, is to keep your mailing lists organized – sometimes this means that you have to split your mailing lists into multiple mailing lists. We get that! That’s why we made it easier for you to navigate between your mailing lists, by adding paging in the step “Select Mailing List” of your campaign wizard.

And search/filter
Similarly, for easier navigation and less time wasted in “scrolling, scrolling, scrolling”, we launched the Search option, where you search for a specific mailing list.
Users can now select more than one segment for each list
Once you start creating segments in order to send more targeted campaigns to your audience, it’s true that you can’t stop making them. You will always want more! And why not? The problem with that before was that you could only send your campaign to one segment for each mailing list. Let’s admit it – that was always a difficult decision sometimes, as you had to select the “best” fitted segment or even create a new one that could combine 2 or more from your existing segments. You can now select to send your campaign to more than one segments for the same mailing list – yes, that was correct! For the SAME mailing list.
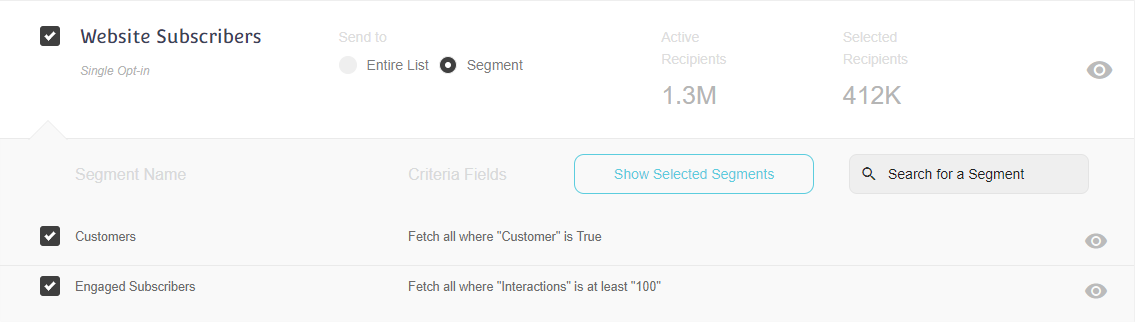
And filter/search segments
In addition, for easier navigation within the segments, we launched the Search option, where you search for a specific segment. Just search for it, find it, and select it.

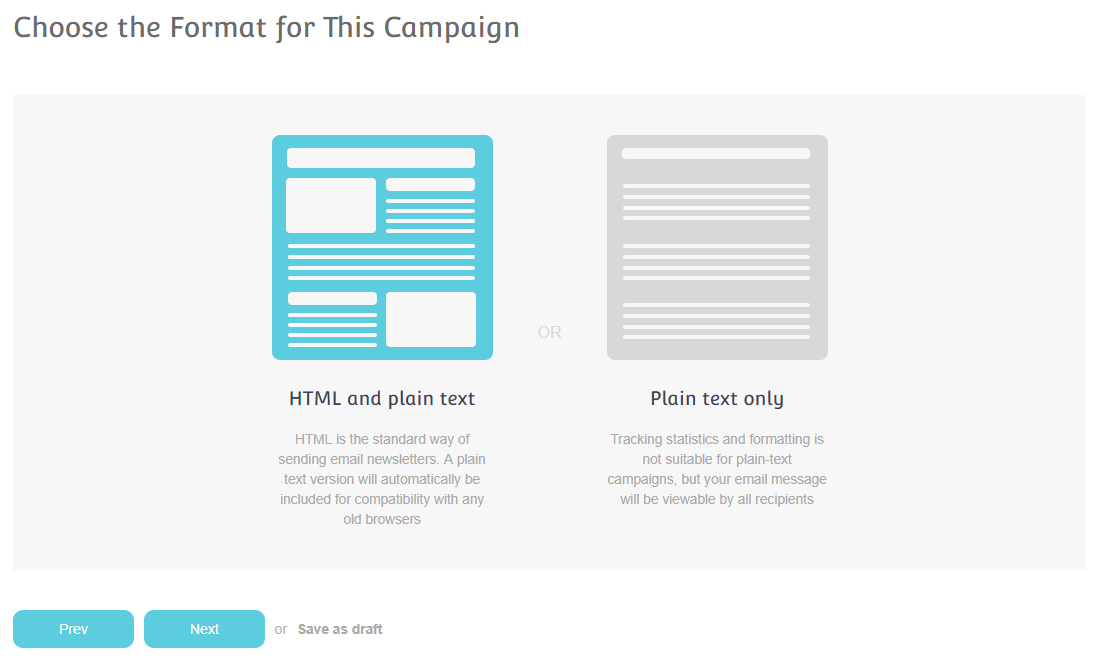
We re-arranged the layout of campaign email formats
You have the option to select the format for your campaign. So it can either be an HTML campaign that can contain images, links, text, and other cool components or it can be plain text only. Most of you, you are using the HTML option and that’s why we keep it pre-select it. But to keep things clear, you will find the HTML option moved to the left side.
There is a new spam / delivery report that will ROCK your world!
When you are done creating your campaign, I’m sure you are curious to check the deliverability of your campaign against the spam filters! We are introducing an improved version of our “Spam and Delivery” which will check how your campaign will rate against all of the popular spam filters. You’ll get all this with only one click and of course, for free!

Automation Campaigns will no longer clutter reports page
The excitement of using the automations will never end! The good news is that you can continue creating more and more, and more, and more automations! But do you feel overwhelmed with all those Automation Reports?
Same here! So, up until now, you could find the Automation campaigns in the Reports menu along with all your other campaigns. From now on, you can find the Automation Campaign reports by clicking on your automation and then find and click on the little eye icon on the right side after the reports of your campaign.
Similar Posts
 Published by

 Published by
 Published by
Create, send and optimize your email marketing campaigns