


Event-Based Email Automation: What It Is & How to Use It [2026]
Published By Tea Liarokapi
February 27, 2026

27/02/26
Let’s say you run an eCommerce store or a hospitality website. Traffic looks good, leads are coming in, newsletters are getting opened, but revenue isn’t moving. Often, the issue isn’t visibility, but how you’re using event-based email automation.
If you’re not reacting when someone abandons a cart, leaves mid-booking, or drops off before scheduling, you’re leaving revenue behind. Event-based workflows are triggered promptly, with relevant follow-ups as soon as an action occurs, so no opportunity slips through the cracks.
But how does event-based automation work? Why are automated emails different from scheduled email campaigns like newsletters? And how do you set up and optimize your email sequences?
This guide will help answer all your event-based email marketing questions.
Make every action count
Respond to abandoned carts, purchases, and inactivity with event-based automations.
TRY MOOSENDWhat Is Event-Based Email Automation?
Event-based email automation sends messages in response to subscribers’ actions rather than on a fixed schedule.
Emails are triggered by real-time actions such as signing up, exiting a page, or purchasing, allowing you to respond to individual behavior. This is why they differ from batch emails (like newsletters or product launches) that send the same message to your email list at once.
Some common examples of event-based automation workflows are the following:
- Cart abandonment email flows
- Welcome email campaigns
- Upcoming event reminders (these work well for appointments, webinars, or bookings)
In Moosend’s platform, event-based email automation workflows look like this:

This is an email automation template (or recipe, as we call it in Moosend) that can streamline your onboarding efforts. The event—or email trigger—is the action of subscribing. As you can see, the workflow includes branching logic that’s fully customizable to align with your email marketing strategy.
The Benefits of Event-Based Automation
Using triggered emails changes how and when your campaigns reach subscribers. Below, we break down the advantages this brings to engagement and conversions, and how they nurture leads.
Better timing
Email triggers let you respond while there’s still high intent. When someone performs a specific action (like abandoning their cart), they’re in a “decision moment.” An automated email sent right then feels expected. If you wait until your next batch send, that moment passes, and so does attention.
Relevance at scale
Triggers not only control timing, but also determine why you send and what you say.
A signup trigger can start onboarding, a page-view trigger can send a product guide, and a date-based trigger can send a renewal reminder. Add conditions such as location, interest tags, or lifecycle stage, and a single workflow can send personalized emails to thousands of subscribers without you having to hand-pick segments each time.
Better intent-to-message match
Event-based emails typically perform better because the content matches a real user action. For example, with eCommerce email automation, you can generate follow-up emails that respond to browsing or cart behavior. That way, the message goes beyond that of batch email marketing campaigns (like newsletters) and describes the next logical step:

This is an abandoned cart email from Burga. It arrived in my inbox after I left items in my cart. The subject line alone made me open it because it was both thoughtful and attention-grabbing. And since the intent was for me to go back and purchase, the CTA also matched:

Here, the path of this trigger was clear:
- A user abandoned their cart
- They were sent the appropriate personalized email featuring their full name and the item left
- The call-to-action urged them to purchase.
And in my case, it worked. This email not only boosted the brand’s open and click-through rates, but also its conversion rates.
Consistency and fewer human errors
Triggers don’t forget. Automations send the predefined message whenever the event occurs. And since the functionality is no longer manual, the human factor can be almost eliminated. That reliability is exactly why event-based email marketing makes sense for your brand’s marketing strategy.
How to Set Up Your Event-Based Automation
In practice, every event-based automation follows the same core structure, regardless of the trigger and automation tool you use.
- The trigger
- The rules and segmentation that define who qualifies
- The actions
1. Identify the event
What behavior brings users closer to the outcome you want? Start with the action that signals intent.
This could be a sign-up, a link click, a page view, a webinar registration, inactivity, or another measurable action. Use your email metrics and behavioral data to determine which events indicate meaningful engagement.
For example, if your data shows that users who visit your pricing page twice are more likely to convert, that visit can become your event. Strong events are specific and tied to a real moment in the customer journey, so your automation doesn’t feel random.
2. Select the trigger
Every automation workflow starts with one clear trigger. This is the action that sets everything in motion.
In your automation builder, choose the trigger that matches the event you identified. This ensures subscribers enter the workflow immediately after taking the relevant action. The clearer and more precise your trigger is, the more aligned your message will feel.
3. Define the rules and segmentation
Next, decide who qualifies and how they move through the flow. Use email lists, tags, custom fields, and segments to determine which subscribers should enter the automation. Then apply conditions inside the workflow to define different paths.

Here’s one of Moosend’s email automations, specifically the “Re-engagement email based on weather” recipe, which tailors messaging to weather conditions.
After the trigger fires, the workflow uses a Filter step to check subscriber information (e.g., location) and contextual data (e.g., the weather in said location). This condition evaluates whether the criteria are met and routes the subscriber down the appropriate path.
4. Design the actions
The result of the above automation is that the workflow can split into two different outcomes:
- Sending one message if the condition is met
- Sending a different one if it isn’t
That way, subscribers looped in this workflow only receive relevant emails that match their actions, interests, or lifecycle stage.
Depending on whether a condition is met, subscribers can receive different messages, enter separate sequences, or exit the automation entirely. This structure allows a single trigger to power multiple outcomes without any manual effort, ensuring each subscriber receives the most relevant follow-up.
5. Create your email campaign
Now, build the email and ensure it fully aligns with the trigger and conditions.
Let’s take a “Re-engagement email based on weather” automation as an example.
If the condition detects warm weather, you could use a personalized email template with visuals, subject lines, and offers that reflect heat, travel, outdoor products, or seasonal promotions.

If the condition detects cold weather, you would shift the messaging accordingly using winter-themed visuals and focusing on cozy products, indoor experiences, or seasonal sales.
At this stage, personalization should go beyond a generic greeting. Use dynamic content so the message reflects the subscriber’s context without requiring multiple separate campaigns.
6. Test and measure performance
Before activating your automation, test it thoroughly. Trigger the workflow with a test action to confirm:
- The correct path is followed
- The content displays properly
- The timing reflects the customer journey
Once live, measure performance based on the goal defined in step one. Go beyond open and click-through rates and track what the trigger is meant to drive, whether that’s activations, webinar attendance, or increased sales.
Use those insights to adjust timing, subject lines, or messaging so the automation continuously improves over time.
Most Popular Event Triggers to Use
Below are practical, high-value triggers you can set up fast and use throughout your email strategy. For each email automation example, you’ll see the trigger, a flow with timing and conditions where it matters, why it works, and one pro tip to keep it clean and effective.
Newsletter signup
Welcome people at the exact moment they’re most attentive and quickly teach them what your emails are for.
Event: A new subscriber joins your list.
Automation flow: Send a welcome email and set expectations immediately. Make sure your content delivers quick value.
- Condition: If they click a “preferences” or “choose interests” link, tag their interests for future segmentation.
- Day 2: Send a “Start here” email with your best beginner resources or most popular content.
- Day 5: Send social proof (testimonials, top brands, results) plus one clear next step.
- Exit rule: If they hit your main goal, end the welcome sequence and move them to the next lifecycle flow.
Keep the first email focused on one action (set preferences, view a guide, start a trial). Too many CTAs can dilute your message and confuse the recipient.
Cart abandonment
Recover revenue by matching the customer’s hesitation with tailor-made and timely messages.
Event: A cart is created, but checkout isn’t completed.
Automation flow: Craft a reminder with product images and a CTA with a direct return-to-cart link after the action.
- 24 hours: Address common objections, such as shipping and returns, and offer help.
- 48–72 hours: Offer an incentive. It could be a discount or a non-discount alternative, such as free shipping.
- Condition: If a purchase happens at any point, exit immediately and start post-purchase automation.
Don’t forget to add a condition to suppress this flow when stock is low, or the cart value falls below a threshold.
Key action completed
Reinforce momentum and turn a first success into a habit.
Event: A user completes the core action they signed up for (e.g., creating their first campaign, inviting a teammate, connecting an integration, etc.).
Automation flow: Deliver a short “nice progress” message that confirms what they did and why it matters.
- Introduce one advanced feature that makes the next step easier (email templates, automation recipes, reporting).
- Offer one CTA (try the next feature, book help, import contacts), then exit or move them into the next lifecycle stage.
Keep this email short by celebrating, guiding, and giving one next step.
Winback automation campaign
Protect deliverability, reduce unnecessary sends, and give people a clean way to stay subscribed on their terms.
Event: No opens or clicks for X days, or no login for X days.
Automation flow: Send a preference check with a relevant subject line (“Still want these emails?”). Include options for recipients to change their preferences.
- Send a “reset” email with your best value content (or most useful feature) instead of a generic discount.
- Send a final email to explain what happens if they unsubscribe or stop using your product, and exit them from the automation if they remain inactive.
Add a condition to exclude recent customers or users with support tickets. They may be inactive in email but active elsewhere.
Anniversary email campaigns
Predictable timing makes planning easy, and personalized content makes it feel thoughtful.
Event: Birthday, signup anniversary, subscription renewal window.
Automation flow: For birthdays or anniversaries, send a simple message with a small reward (offer, perk, content) tied to their relationship with you.
- Renewal: Send reminders at specific time intervals (e.g., 30 days, 14 days, or 3 days) before renewal with a value recap and what happens next.
- Condition: If they renew early, exit immediately to avoid irrelevant reminders.
For renewals, create benefit-driven content that highlights what they keep or what they can get before you mention price.
Event-Based Email Automation Best Practices
Making all individual components work isn’t a walk in the park. This is why, besides investing in proper automation software, you need to follow some general best practices:
- Be clear and concise: Your message should be focused on the specific trigger, from the subject line to the CTA. Your CTAs should clearly convey value and a path to the next logical action.
- Be mindful of timing: Space out your emails in a way that makes sense to your audience and their action. For example, if the trigger was an onboarding session, don’t overload recipients with daily emails.
- Go beyond a first name: Personalization can be more granular than “Hi [First Name].” Details like a specific product, an upcoming in-person event they have signed up for, or a personalized offer can increase engagement by 78%.
- Tie each trigger to a single goal: Define the outcome before building the workflow, whether it’s feature adoption, a demo booking, or a repeat purchase. Measure success by conversions and revenue, not just opens and clicks.
- Set clear exit conditions: Use suppression rules and conditional logic to remove contacts once they complete the desired action. This prevents redundant messaging and protects engagement and deliverability.
Turning Events into Results
Instead of relying on fixed schedules, event-based email automation lets you respond to real behavior with timely, relevant messages that move people forward.
Start with two or three high-impact triggers, track how subscribers respond, and refine your flows as you learn. Over time, these small automations add up to a more consistent, effective email marketing strategy.
Build your first event-based automation with a simple trigger, smart segmentation, and a workflow that adapts to subscriber behavior, then optimize as you learn.
FAQs
Now let’s answer the most common questions around event-based email automations.
1. What’s the difference between email automation and event-based automation?
Email automation is the process of sending emails automatically rather than manually. Event-based email automation is a type of automation in which emails are triggered by subscriber actions, so timing is driven by behavior rather than a fixed schedule.
2. What are the most effective event triggers?
The strongest triggers are tied to clear intent or milestones, including newsletter signups, lead magnet downloads, product or pricing page views, cart abandonment, first purchases, trial signups, and inactivity. These moments signal readiness for a specific message.
3. How many emails should an event automation include?
Most event-based automations perform best with a short sequence of one to five emails. The goal of each email should be to support the next logical step.
4. How do you avoid over-emailing?
Use exit rules and conditions to stop automations once a goal is reached. Triggers should react to behavior and nurture leads further down the funnel.
5. Is event-based email automation difficult to set up?
Most event-based automations are straightforward once triggers and goals are clearly defined. Starting with simple workflows helps you build confidence before adding conditions and branching logic.
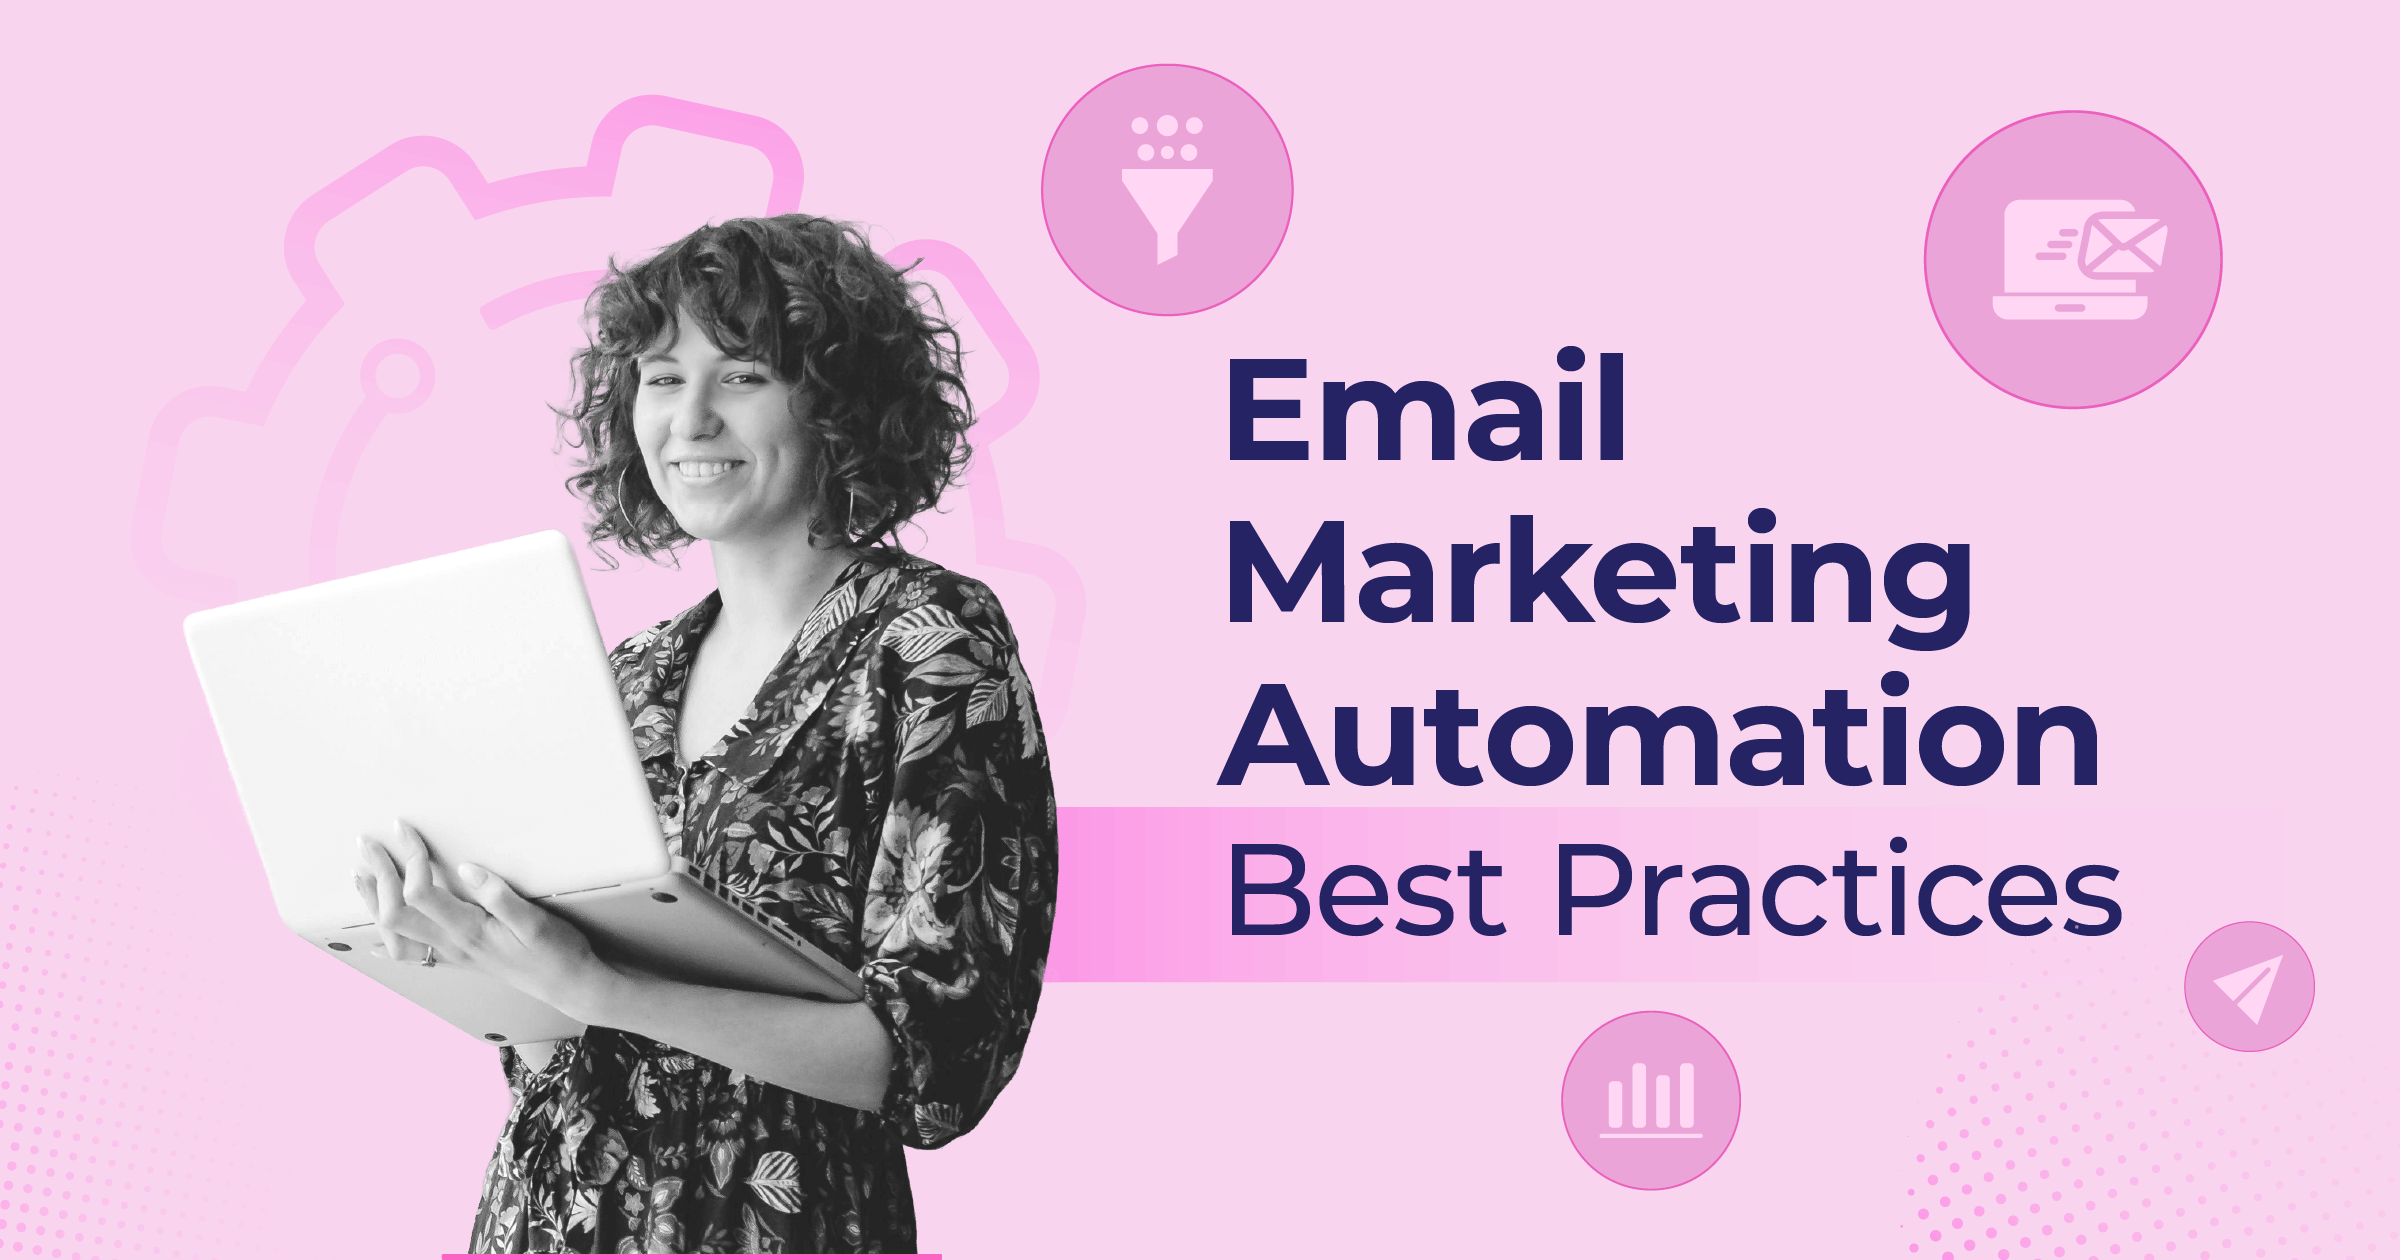
Similar Posts
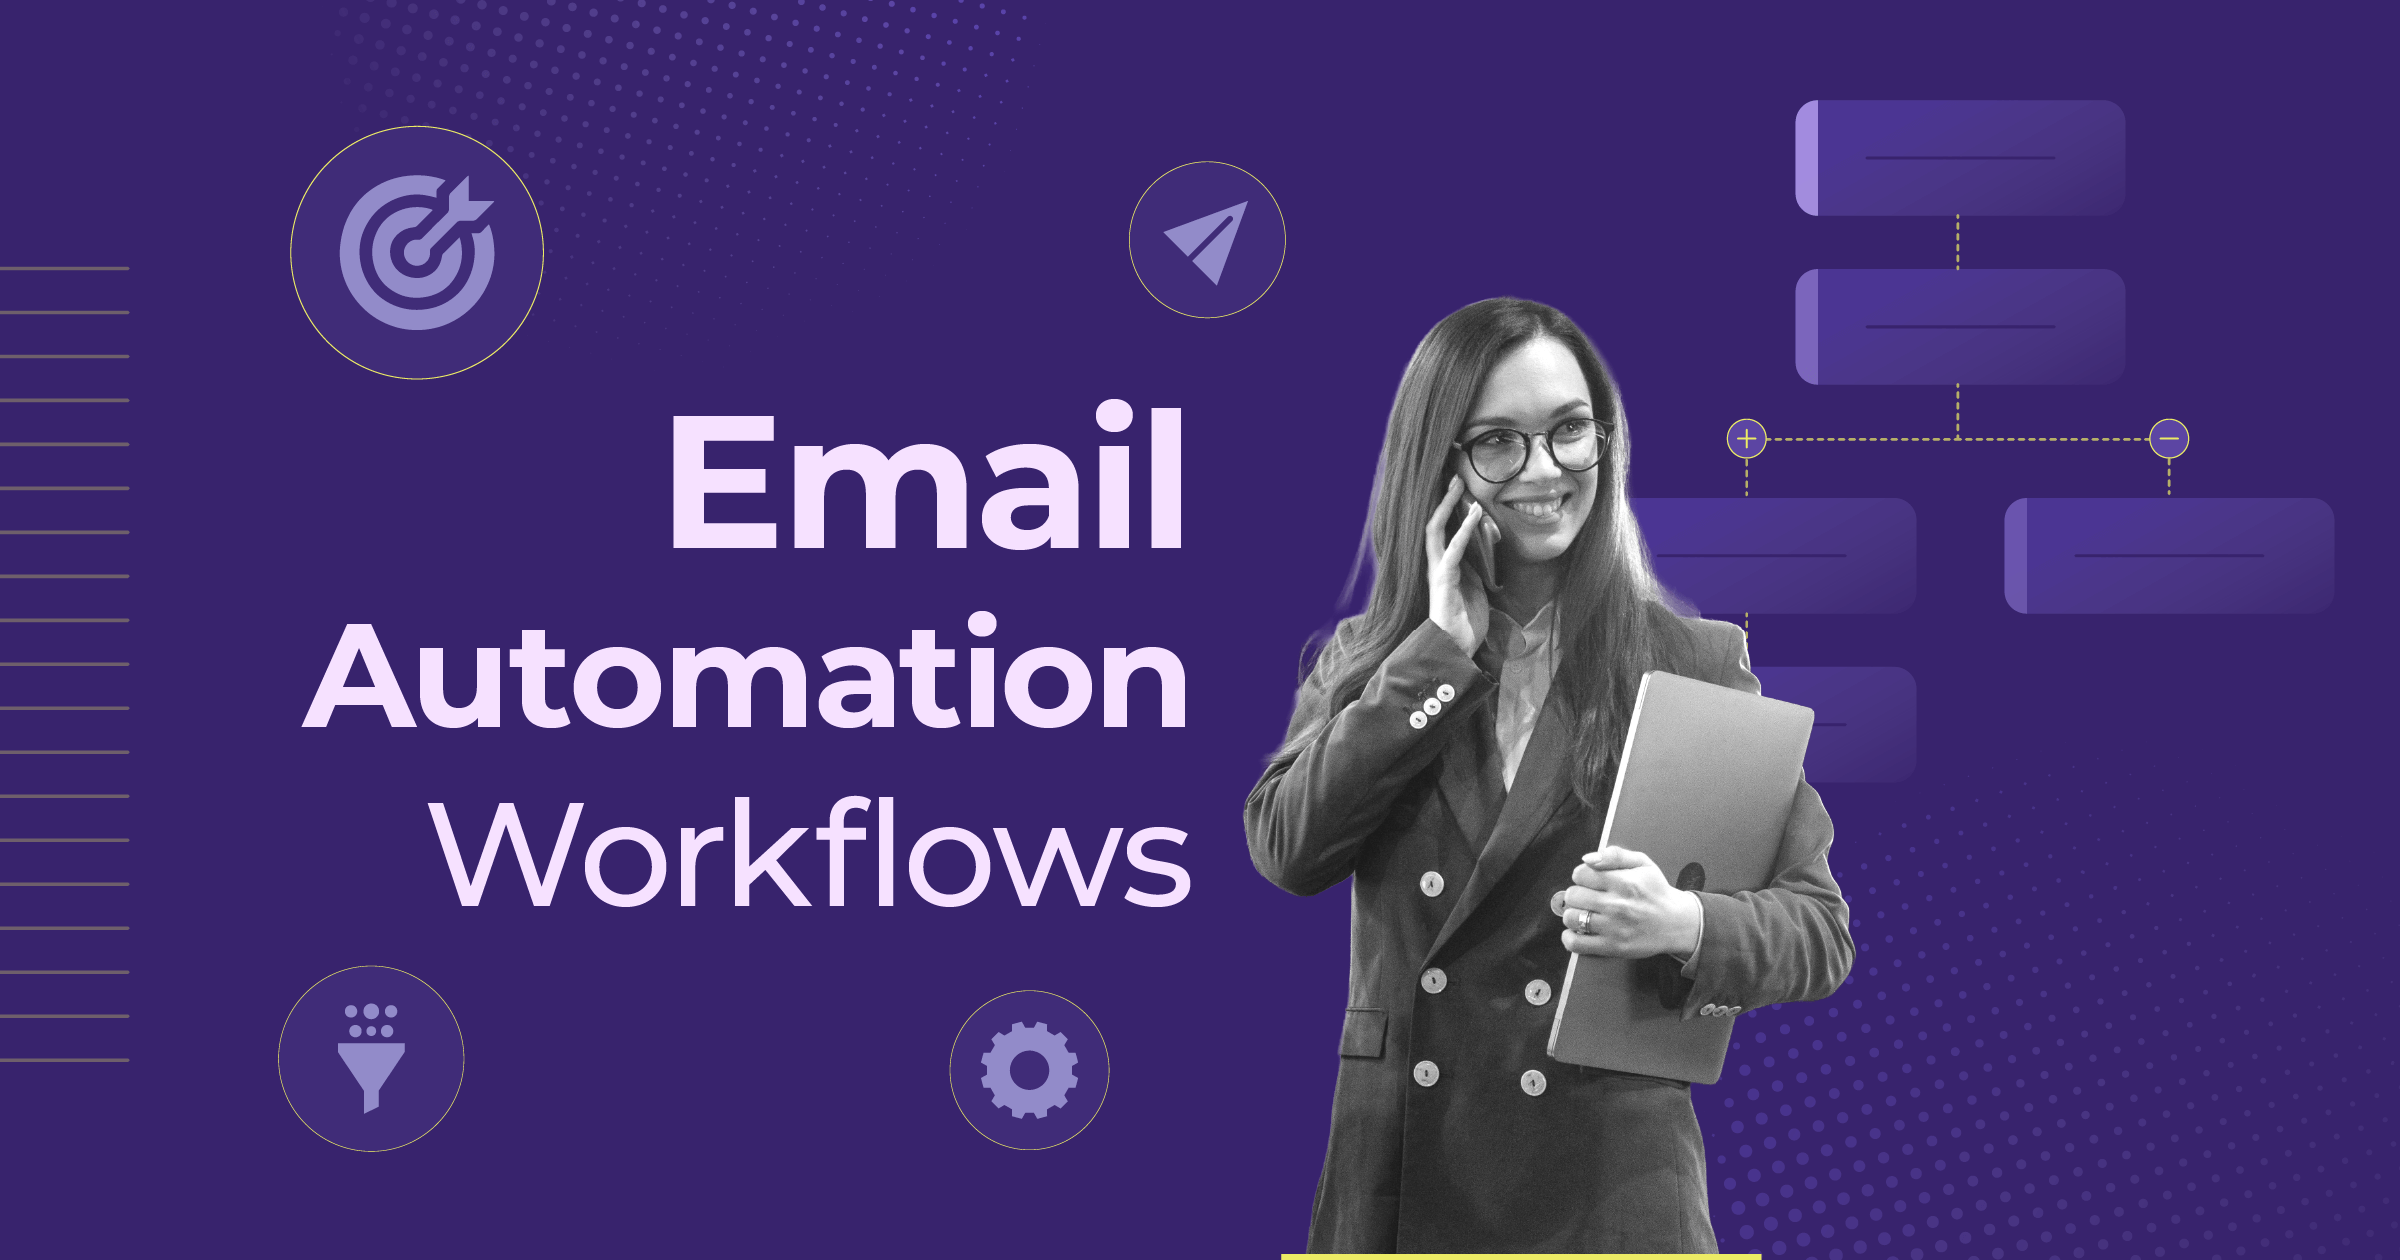
 Published by
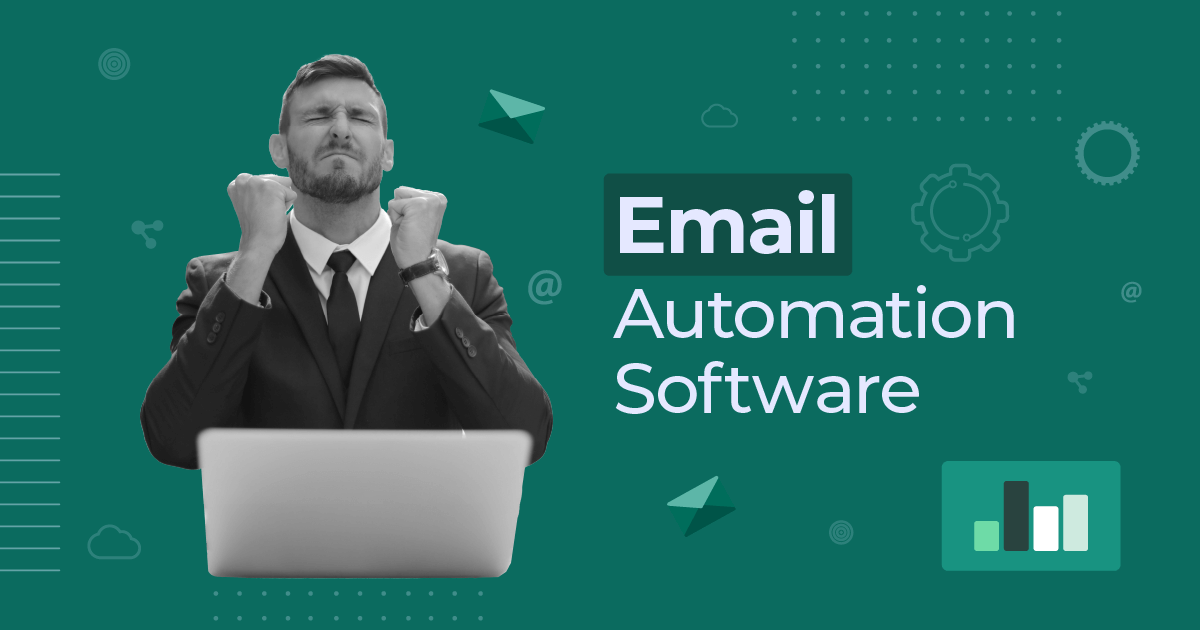
 Published by
Create, send and optimize your email marketing campaigns